Here are the images of the inside of the cylinders at different stages of tapping and cleaning.
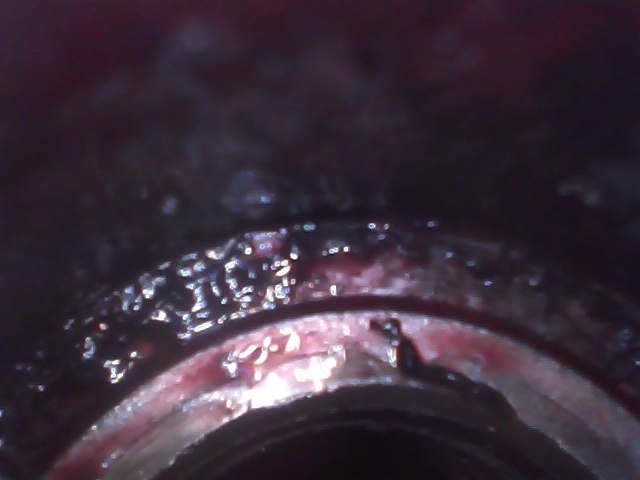
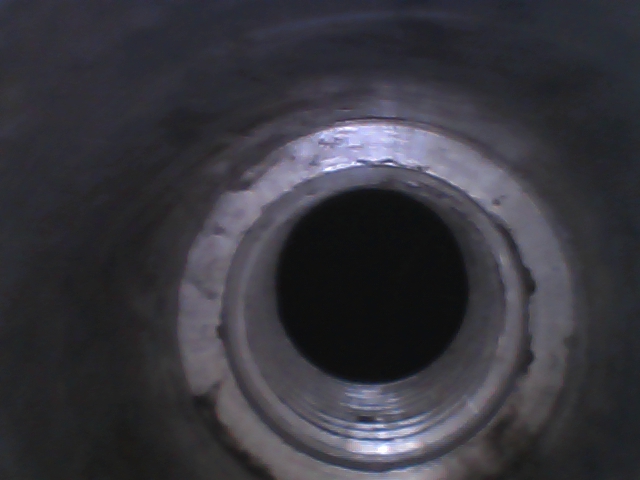
With the valves open and the original spark plug seats and threads:
In these first two images you can see the edge of the valves. Hitting one of these with the cutter would be catastrophic and require a head removal and valve replacement.

Here are a couple pictures of the original spark plug threads. You see the wells are only threaded part way.

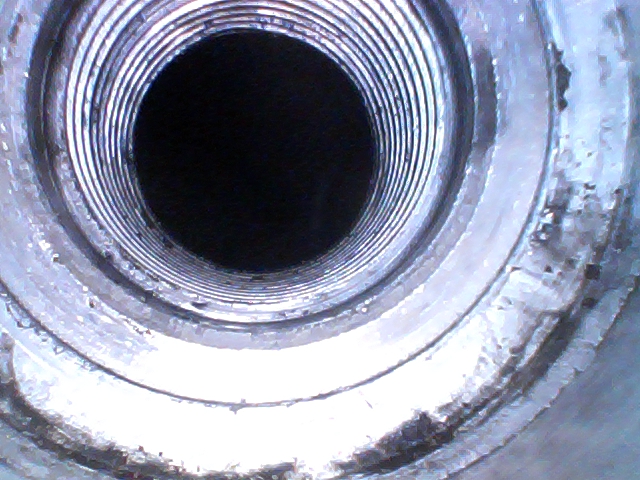
Here are some pictures of the tapped spark plug holes cleaned and waiting for the inserts:


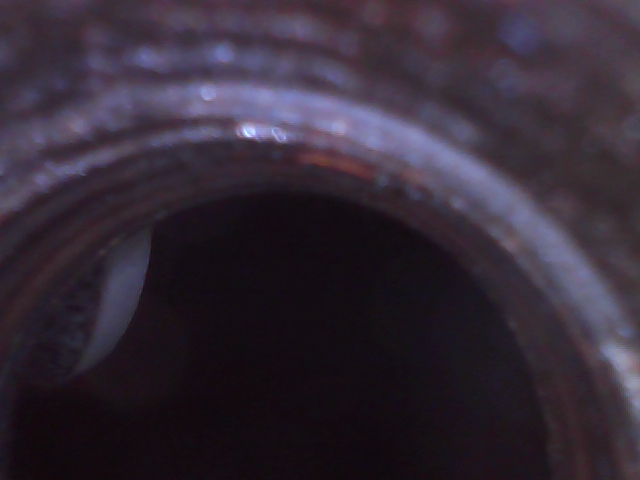
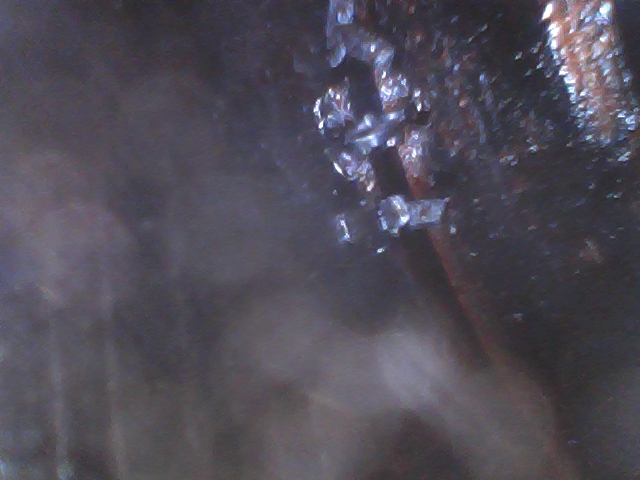
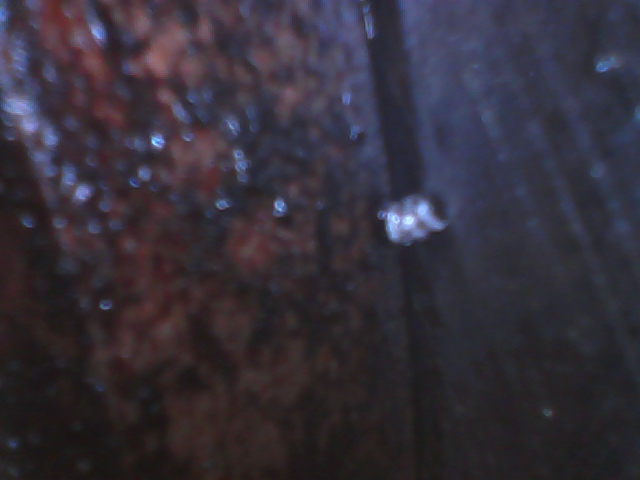
Here are some images of the tap cuttings down in the cylinders. These all need to be cleaned out 100% before installing the inserts. The tapped holes are quite a bit bigger than the inserted spark plug holes so it’s best to get the chips out while you have more room to insert a blower or a vacuuming hose.


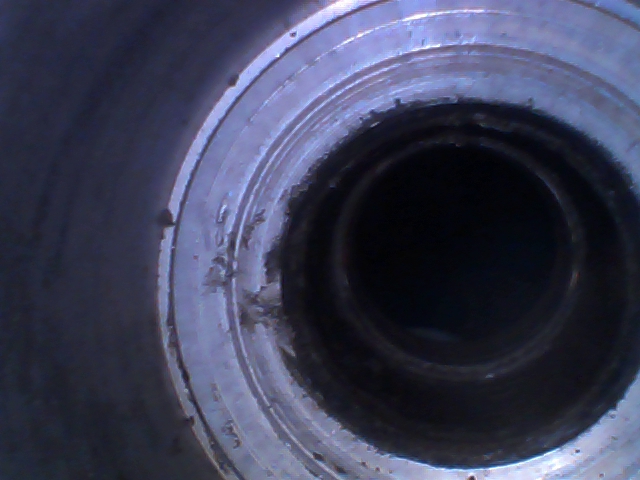
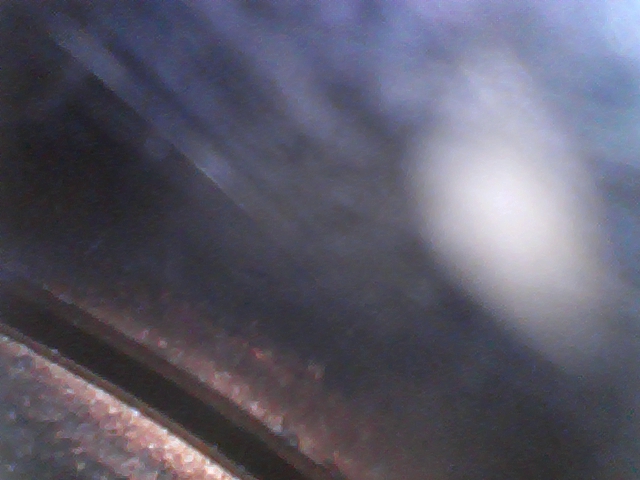
Here are some pictures after cleaning, blowing and vacuuming the cylinders:


In the following images you can see the insert after it is installed, seated, set, and loctited in place. You can see the new bevel for the spark plug seat in the center of the insert. The first two images show I used a bit too much loctite on this cylinder. I cleaned up the excess loctite and let the heads sit for a few days after installing the inserts and before putting in the new sparkplugs. The last two images are how each hole looked after I installed a new insert.